Custom Replies Forwarding
The following guide will show you how to create multiple custom forwarding reply rules.
Simply click on "Sending" on the left-hand control panel menu, select the "Reply Rules" option and follow these easy steps:
Step 1: Name
Click on "+ Create Reply Rule" at the top right of your screen and enter a rule-set name, as seen below:
Step 2: Create
Once you have selected a name for your rule-set you can continue by clicking on "+ Catch All Rule" option. Complete the section by adding the required fields as necessary. Once you have selected your preferences, you can click on "Apply", as seen below:
You can then proceed to click on the "Create Ruleset" button to the top-right of your screen, and the system will confirm that that your new reply-rule has been saved.
Step 3: Send
Once you have created your reply rule set, you can apply it to your outgoing messages by making the selection under the "Reply Rule" section on your sending screen, as seen below:
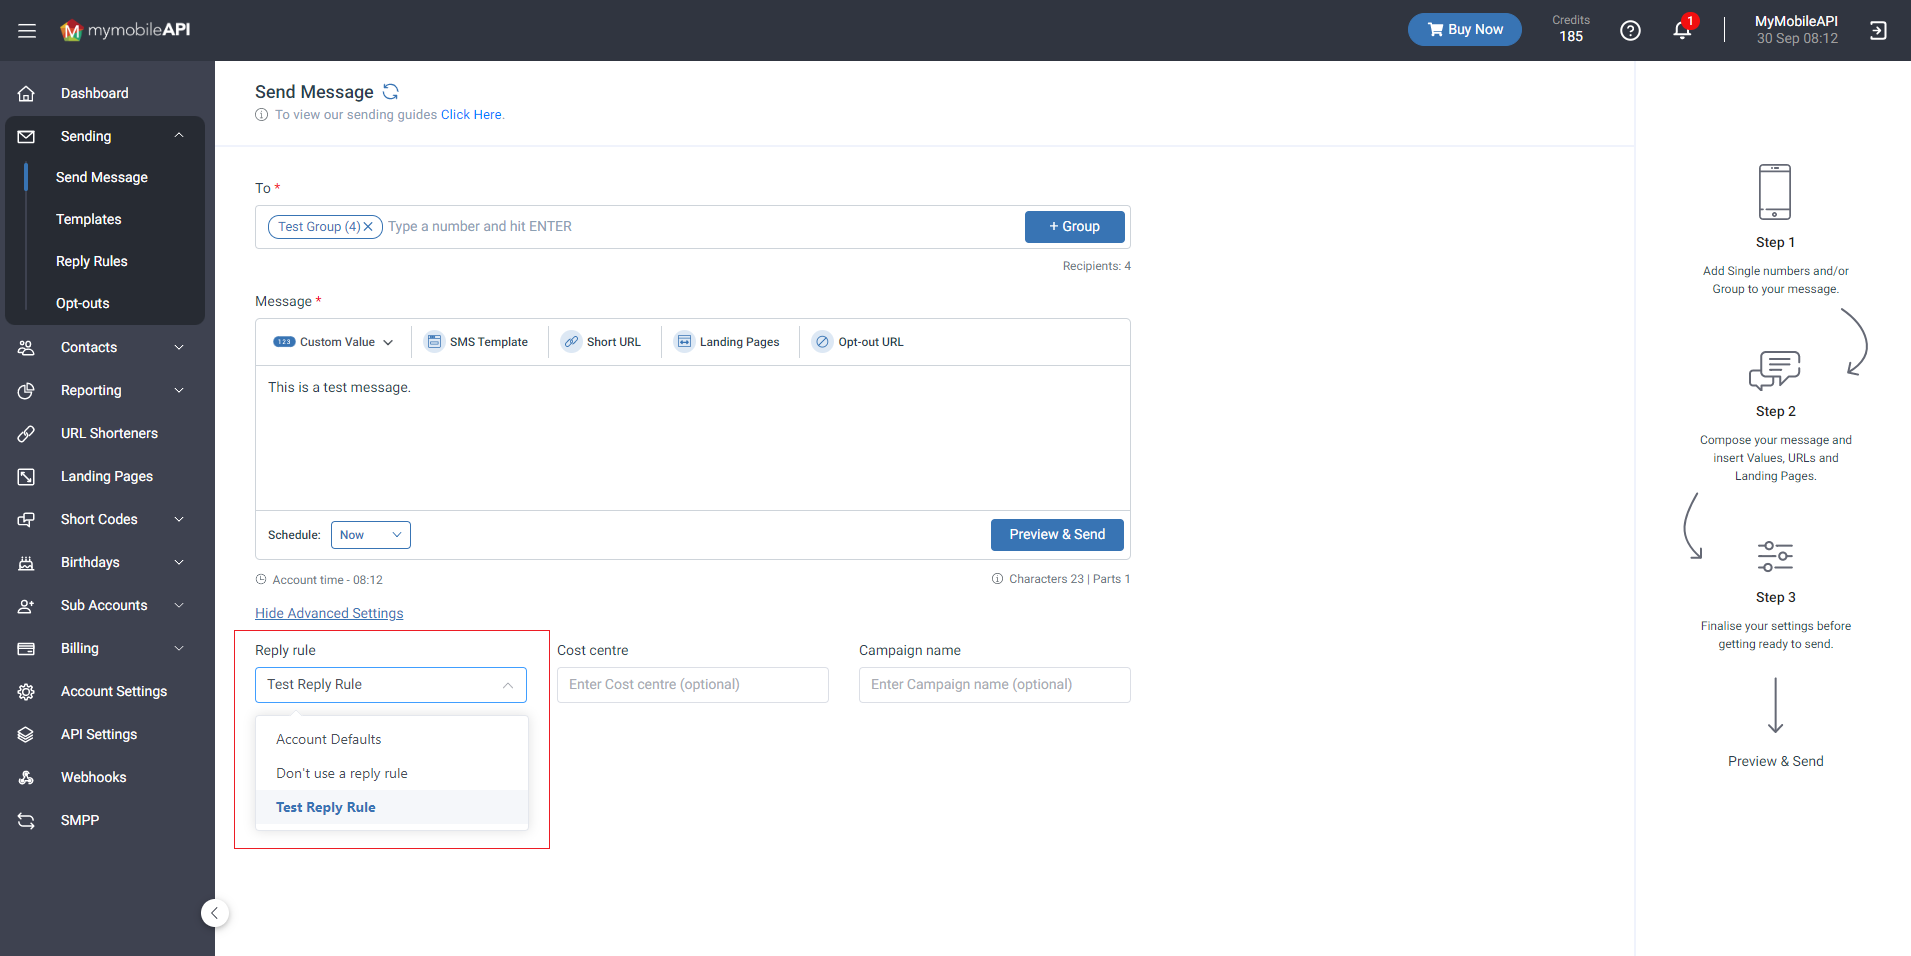
Once you have selected the specific reply rule set, you can proceed to preview and send your message by clicking on the "Preview & Send" button.
Forward Reply to Mobile
- Kindly note that if you have selected to forward all incoming replies to a mobile number, the system will deduct an additional credit from the account for each response that is forwarded.
Important Information
- Please note that this feature would have to be selected on each send and will not be set as a default setting for the account.
- You can add multiple email addresses in the "Forward Reply to Email" section by separating them with a comma and no spaces.
- An automated response can be setup for all incoming replies. Please note that an additional credit will be deducted from the account for each response sent.
Updated over 1 year ago