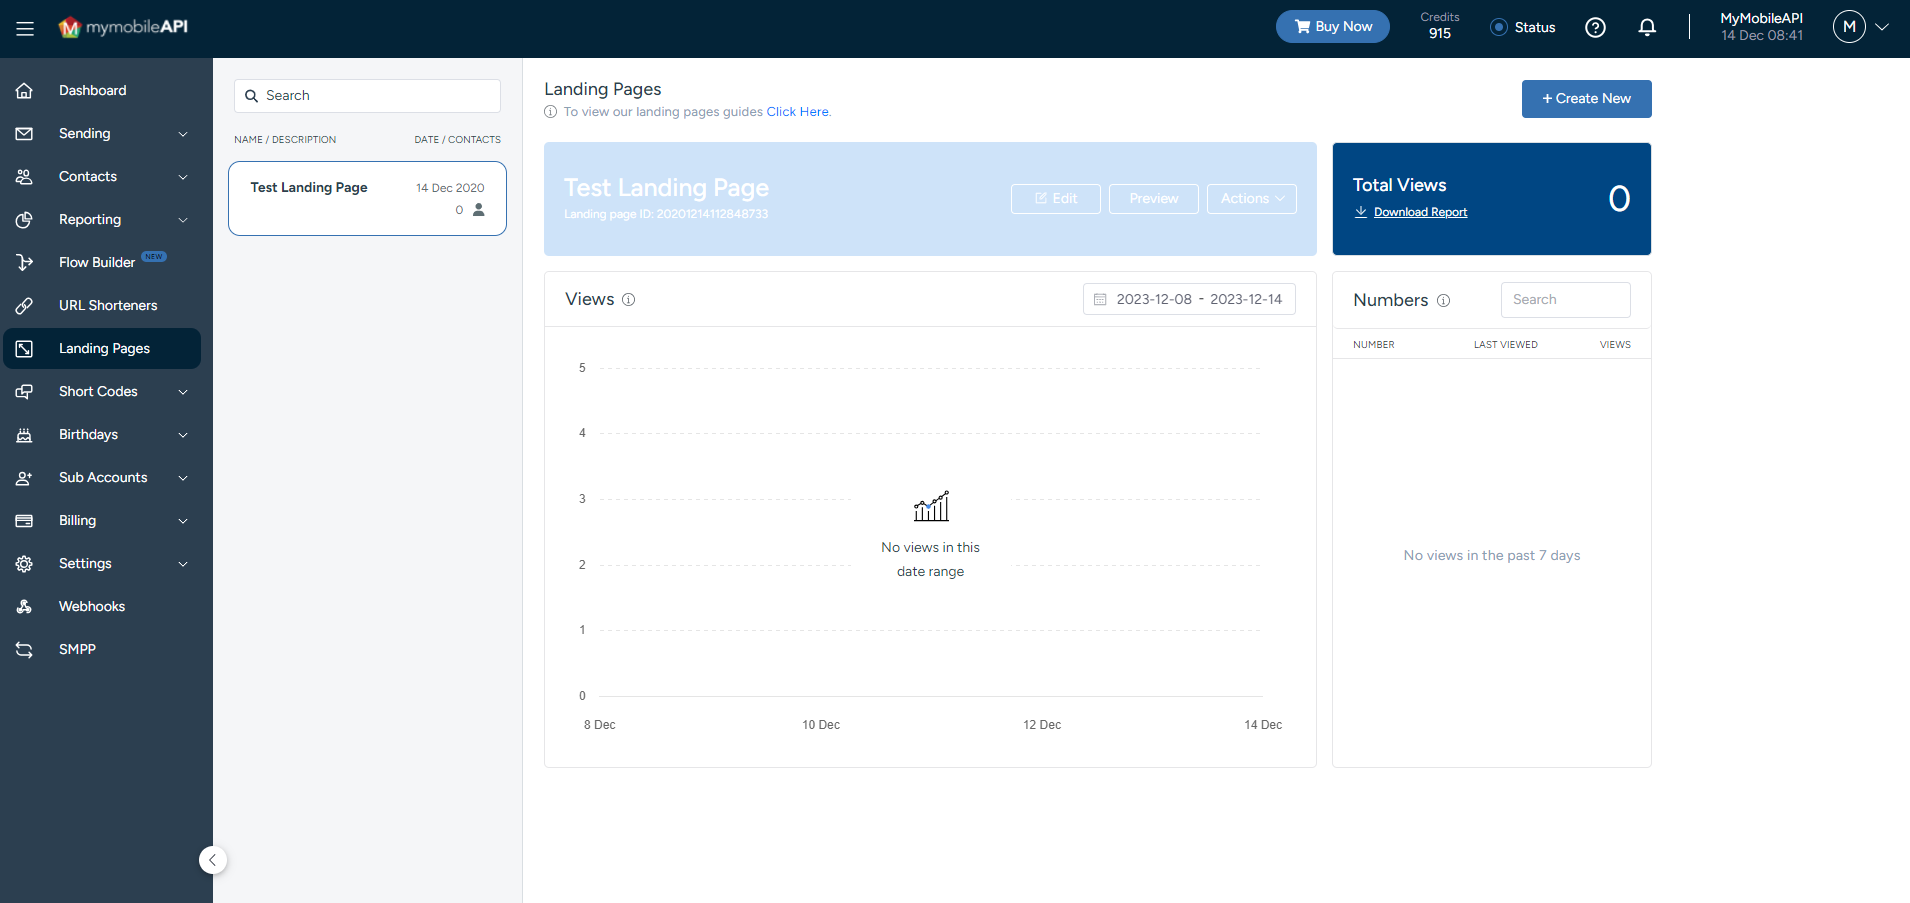
Landing Pages
Overview
Landing Pages are mobile webpages that get attached to your SMSs to add personalized visual content to your messages, boosting customer engagement and creating memorable brand journeys by leveraging the audience engagement of SMS.
Simply click on "Landing Pages" on the left-hand control panel menu, click on the "+ Create Landing Page" button to the top right of the screen, and follow these easy steps:
Step 1: Create
Create a new Landing Page by selecting the "Start from blank" option, or choose one of our design templates.
Step 2: Name
Add a name and title under the "Page Settings" field and click on "Save" at the bottom of your screen.
Step 3: Add
Select the elements you would like to add by dragging it from the elements panel and dropping it in the center of your page.
Step 4: Edit
Click through each element to edit the specific element's settings to the right of your screen.
Step 5: Preview
Click on the "Send Test" or "Preview" buttons to the top-right of your screen to preview and send a test message.
Step 6: Save
Click on Save to the bottom right of your screen once you are happy with your Landing Page.
Important Information
- 1 x credit will be deducted per test Landing Page sent.
- Any unsaved revisions will not be sent and only the last saved version of your Landing Page will be sent.
Link Expiry
- The Landing Page URL sent via SMS will expire by default after 60 days from the time the message was sent.
- The expiry time can manually be changed to 30, 60, 120 and 365 days from within the "Page Settings" section.
Updated over 1 year ago